
 |
| Today, the reclaimed French pavers that we've had sitting outside under a tarp (for two years) are finally going in! Yeah! I can't tell you how excited I am. Our terra cotta pavers are century-old pavers, reclaimed and shipped from France—at least that's what the guy from Craig's List told us. I had my eye on this style of paver for some time, but the best price we could find in Los Angeles was around $18 per square foot and that was not in our budget. During one of my random searches on Craig's list, I found these beautiful little creatures at less than a third of the price. It was a huge stroke of luck because I'd never seen French pavers on Craig's list before, nor have I seen them appear again. |
 |
| With colors of moss, amber and bordeaux, this terra cotta tile (called Chateau Parefeuille) is wondrously timeless. In 100 years, they'll still look good. If floor tiles were food, these would likely be scones or croissants or an earthy rosemary baguette. My thinking: If these tiles lasted a few centuries already, I don't expect our dogs can do them much harm. And when the sun hits them through the sky lights—watch them cast a golden glow—just like the crust of a fire-grilled pizza. Getting hungry just thinking about it. : ) |
 |
| A discussion of terra cotta tiles would not be complete without a few examples from actual Provence vacation homes. Here's a nice one installed at an angle. They look wonderful next to fresh white walls and light colored cabinetry. |
 |
| Here's a sample of tiles laid in another traditional tile pattern: We opted for this pattern in our kitchen. But running against (not in the same direction as) the longest distance of the room. |
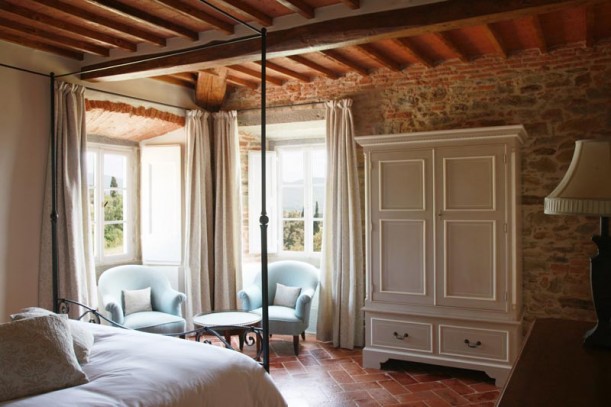 |
| This image is from Bramasole, the actual villa used in the movie "Under the Tuscan Sun," one of my inspiration houses. It's another traditional way to lay the floor. We started with this version, but opted for the more simplistic version shown above because with less angles, it would require less tile and we might eek out enough surplus to tile the sunroom and bathroom, too. |
 |
| Another pretty kitchen floor! |
 |
| These tiles look to be quite large and square. Pretty, but I still prefer the more rectangular shapes. |
 |
| Another Provence kitchen. Rustic, yet timeless. |
 |
| This living room is located somewhere in Santa Barbara, Calif. There appears to be a lot of brown tones in the clay used to make these tiles. |
 |
| Here's a shot of our tiles stacked in the backyard. Can't wait to clean up this pile and have some room for the kids to play! |
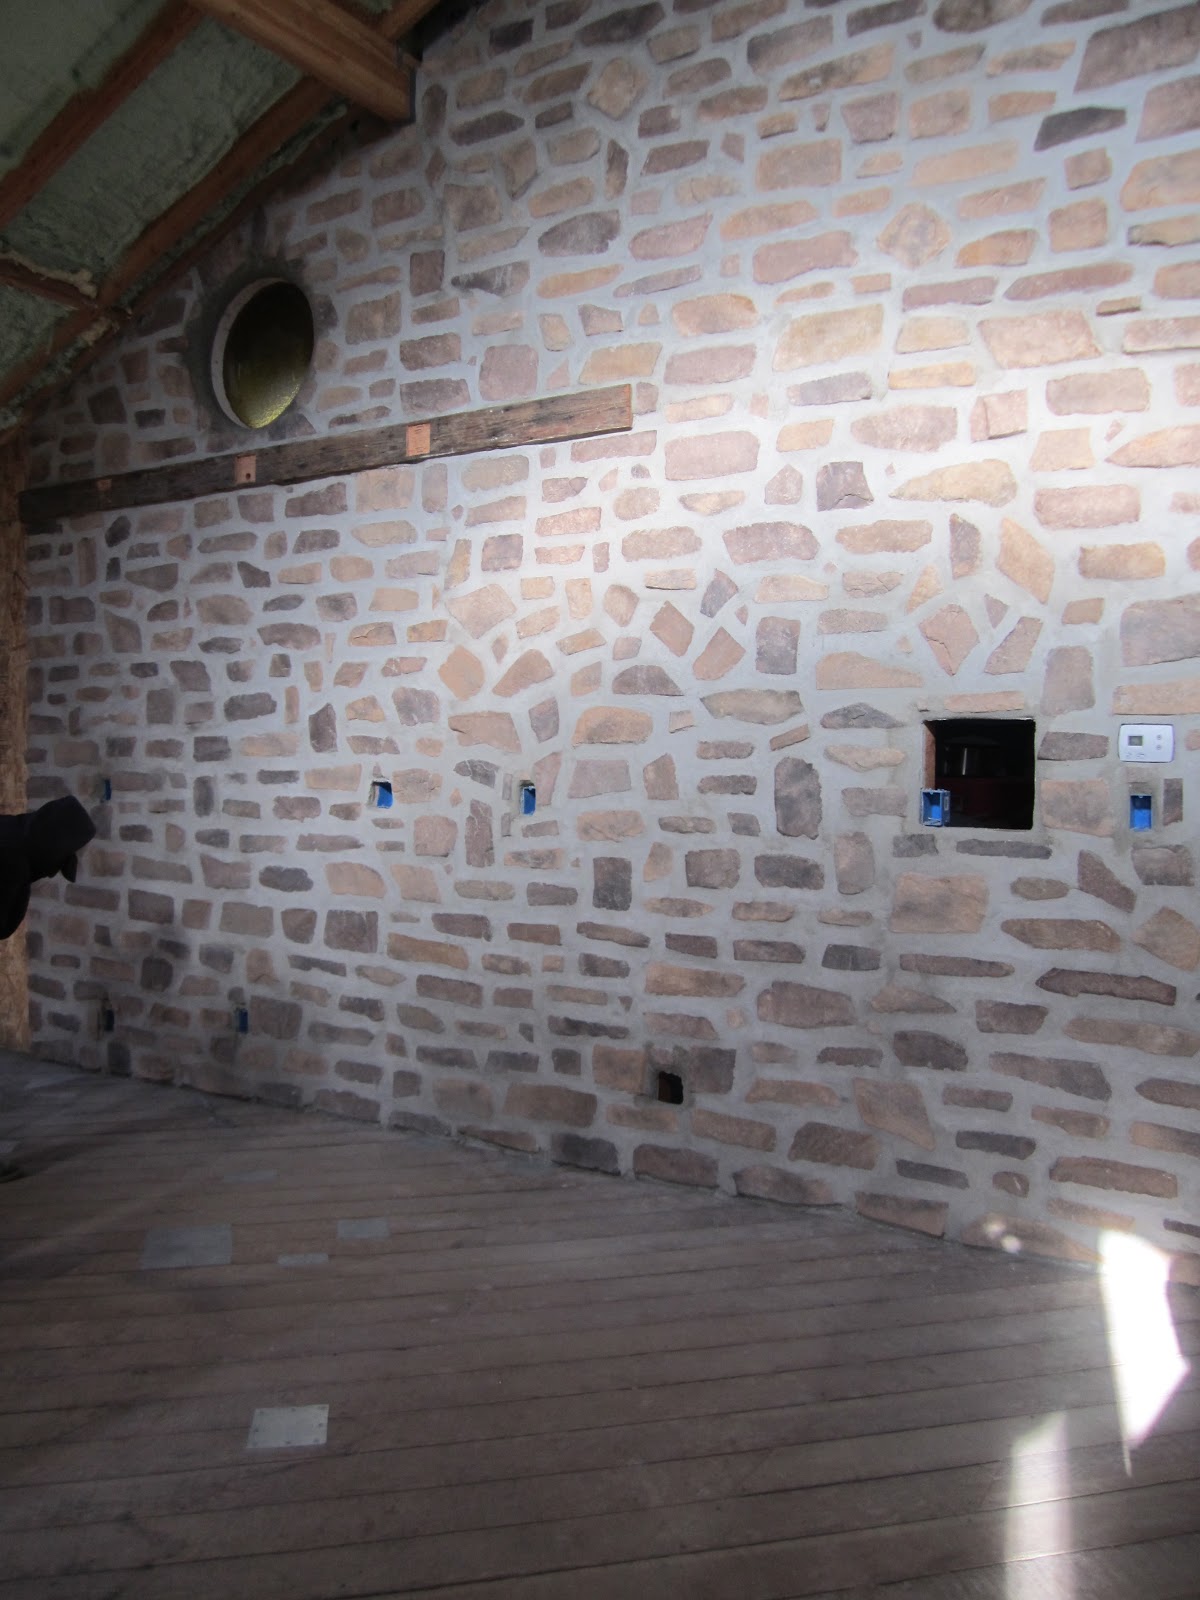 |
| Here is a shot of our kitchen with our new stone wall installed. We had to demolish the old kitchen right down to the original floor boards. The pieces of metal, of course, are where we had to patch up holes in the old wood planks. As a completely irrelevant aside, that little square cut-out on the wall will be a little secret wall niche for teas or a cell phone charging station. Right now, my daughter uses it to take imaginary ice cream cone orders. I'll have a twist with sprinkles, please. |
 |
| Here's a shot of the underlay paper and the Wonderboard as it was going being installed. The entire floor was covered with these hardi-backer boards (they are screwed in) and then the seams were taped and sprayed with adhesive. |
 |
| A shot of our tiles at the onset of the job. We chose a band of 6.5" square tiles because we had a surplus of those. They will create the border for the 8" x 14" rectangular tiles. The traditional way of laying these tiles entails a very small grout line, hence ours are pretty tight. Because the grout lines are so small, we must go with a sandless grout. We chose the quartz color: an oyster-shell hue, a shade or two lighter than their "Dorian gray." |
 |
| The kitchen is almost halfway tiled at this point--awaiting grouting, of course. with the afternoon sun streaming through the back door, I already want to take my shoes off and walk barefoot across it! Our crew will finish the placement on Monday and then, we'll determine if we'll go with the traditional boiled linseed oil and antique beeswax finish or a more modern chemical finish and sealant. From what I've read, using the linseed oil and beeswax makes your house smell wonderful, but you do have to do regular maintenance with the beeswax to maintain the tiles. I've also heard that linseed can change the color of the tiles--sometimes bringing out more red tones, which is not what I want, so we'll have to experiment first before committing to this method. I will be sure to report back on our progress with new pics! |
Is shower just for hygienic uses for you? With an inventive tile installation, your shower can project persona and style.Bathroom Tiles With Tiling a Shower
ReplyDelete